Menu Basics
DressingTools has a menu system to handle and install custom menu items.
Guide
Before we start playing with smart controls, let's learn some basics of menus.
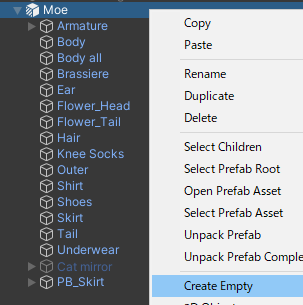
1. Create a GameObject inside the avatar
First, you have to create a new GameObject inside the avatar. Rename it to whatever you like.
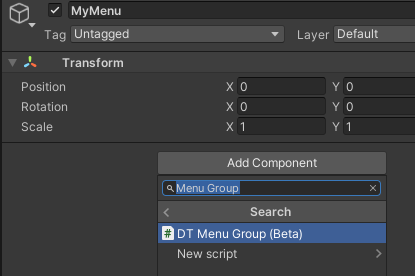
2. Add the DT Menu Group component
Add the DT Menu Group component to the newly created GameObject. It marks this GameObject as the root of menu items. The menu item children of this GameObject will be grouped.

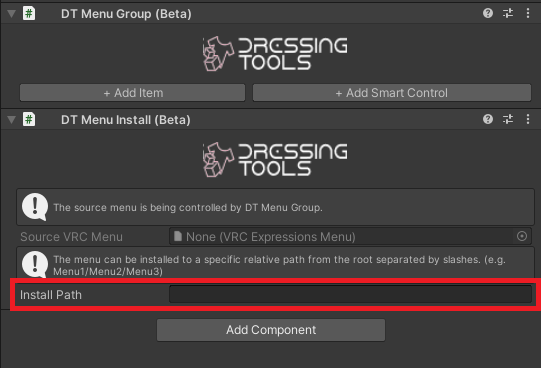
3. Add the DT Menu Install component
Add the DT Menu Install component to the newly created GameObject. This component appends the menu items from the DT Menu Group components to the avatar root menu.
The install destination can be changed by specifying a install path. (e.g. Menu1/Menu2/Menu3 will go through Menu1, Menu2 and install the menu items to Menu3)
If it is left empty, the menu items will be appended to the root menu directly.
4. Add some menu items
Add some menu items by using the buttons in DT Menu Group.
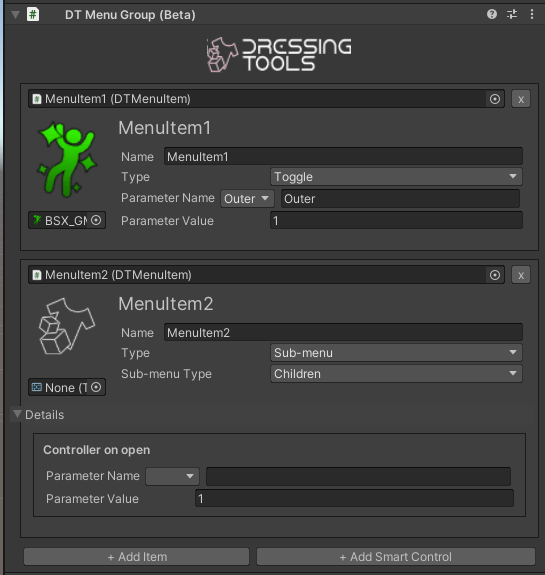
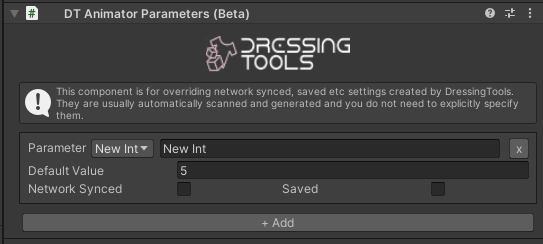
The parameters dropdown list shows parameters that are found from the avatar animator layers. If you select one of the parameters, the selected parameter is automatically configured to be network synced and saved if necessary.
This behaviour can be changed by using a DT Animator Parameters component to override the settings.
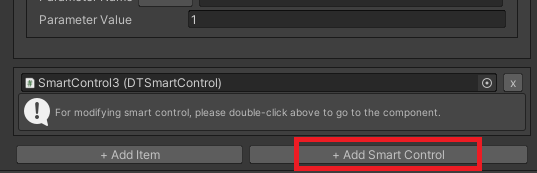
5. Add a smart control item
You can also add a smart control item from the menu group component directly.
6. Done!
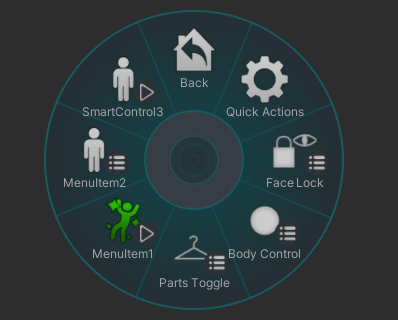
Get into Play Mode and then you will be able to see your new menu items being appended to the avatar root menu!