Setup clothes with cabinet animations
Wearing multiple clothes with your avatar is extremely convenient and easy with DressingTools.
DressingTools drafts all necessary wearable on-wear animations and same name blendshape synchronizations (i.e. Big breast) for you. You just have to add additional avatar toggles/blendshapes and confirm the drafted contents!
A real-time preview is also available while you are setting up animations!
Guide
The guide assumes that you have already created a cabinet for your avatar according to the setup cabinet guide.
In the series of getting started, we will dress Eliya Workshop's Summer Streat into Kyubi Closet's Moe.
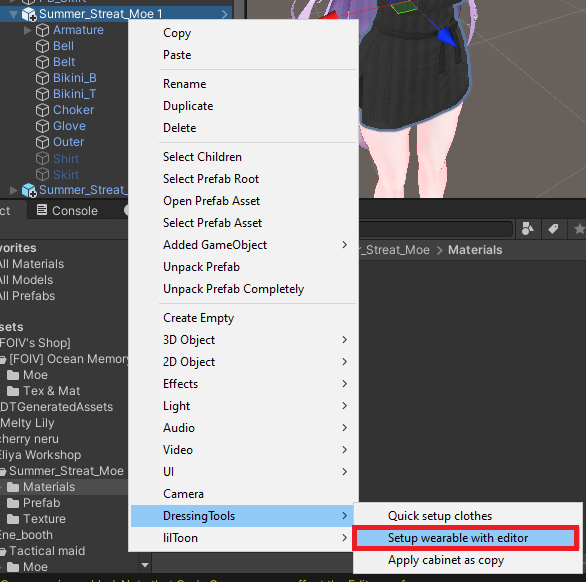
1. Drag the clothes to the avatar
Drag the clothes to the avatar and right-click to choose DressingTools -> Setup wearable with editor
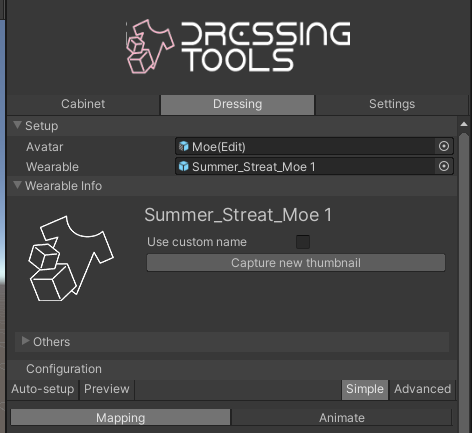
2. Tool window pops up
The DressingTools tool window will pop up and an auto-setup is run to draft the configuration for you:
3. Capture thumbnail (Optional)
A thumbnail decorates your menu and makes you know better what the wearable is. Click on "Capture thumbnail". Move your scene view to select a good spot for your thumbnail and press Capture.
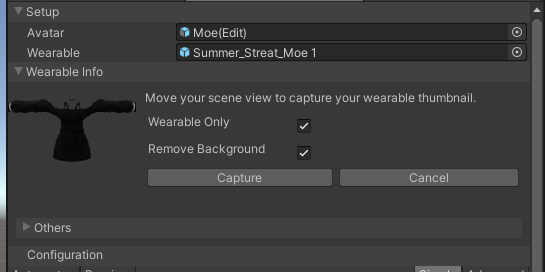
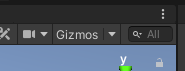
If your scene view does not move with the camera, try turn on Gizmos and try again.
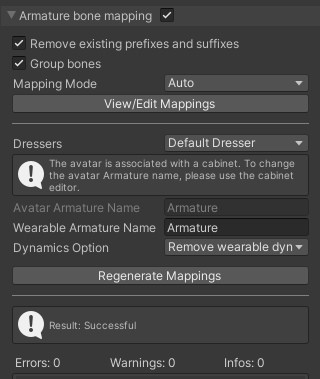
4. Confirm mapping
In the Mapping tab, confirm if armature bone mapping reports no errors. Otherwise, proceed to fix the notified errors.
5. Cabinet animations
DressingTools automatically drafts wearable toggles (adds currently enabled objects), so you just have to prepare the avatar on-wear toggles and blendshapes.
Editing these toggles and blendshapes will trigger the real-time preview for you to preview the animation immediately!
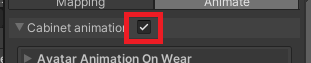
Ensure Cabinet animation is on. This is turned on by auto-setup automatically.
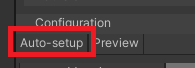
You can run auto-setup again using the Auto-setup button.
5.1. Avatar on-wear toggles
Make use of the Suggestions given and add the avatar toggle until your clothes no longer collides with the existing clothes. The checkbox next to the object field is the status if the object will be enabled or not on-wear.
You can also use + Add to add a toggle that is located elsewhere, or x to remove a toggle.
![]()
5.2. Avatar on-wear blendshapes
Make use of the Suggestions given to add a blendshape change until your avatar looks normal with your clothes. (i.e. changing the Chest/Foot/High heeled shapekeys)
![]()
5.3. Confirm wearable on-wear toggles
Confirm if the auto-generated wearable on-wear toggles matches your preferences. They are automatically added only if it is originally enabled and located at the wearable root.
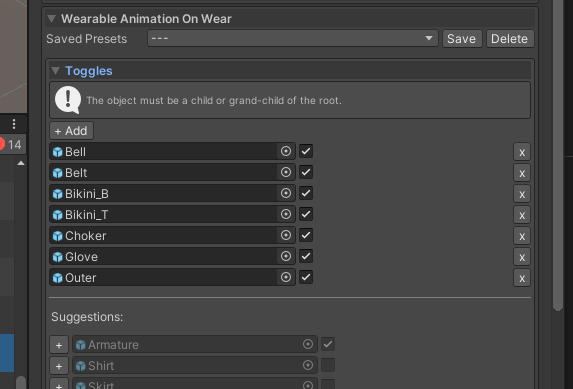
You can make use of on-wear presets. Save and load your own presets to dress faster next time!

6. Confirm blendshape synchronizations
DressingTools might match incorrect blendshape synchronizations. Thus, you should check this everytime if installing a new wearable.
DressingTools matches avatar blendshapes and wearable blendshapes with the same name together and adds synchronizations automatically here.
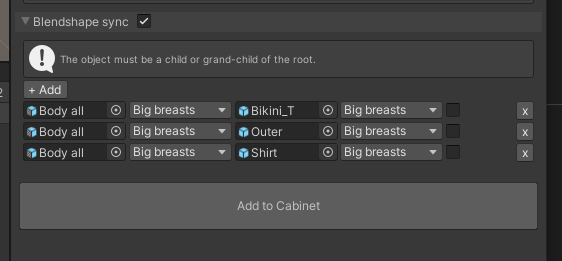
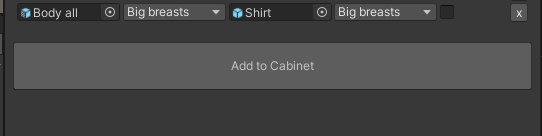
7. Add to cabinet
Configuration is not saved until you press this button.
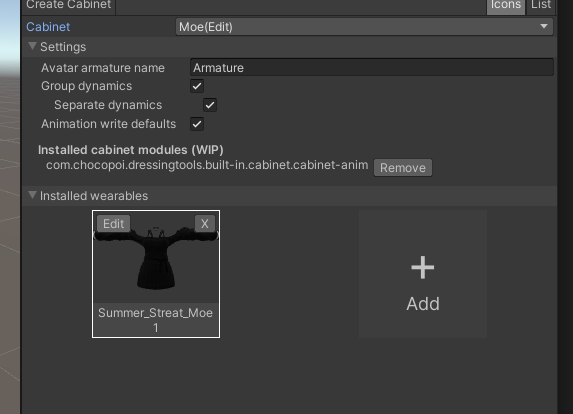
Press Add to cabinet and the wearable will show up in the cabinet view.
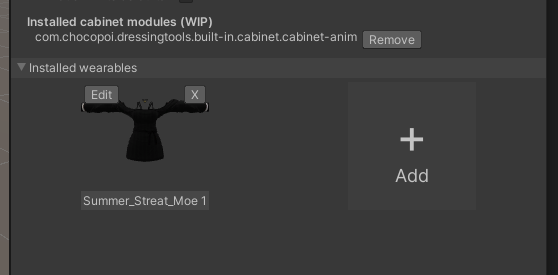
8. Done!
You are ready to go! Get into play mode and see the result! You can use Gesture Manager from BlackStartX to test within Unity Editor!
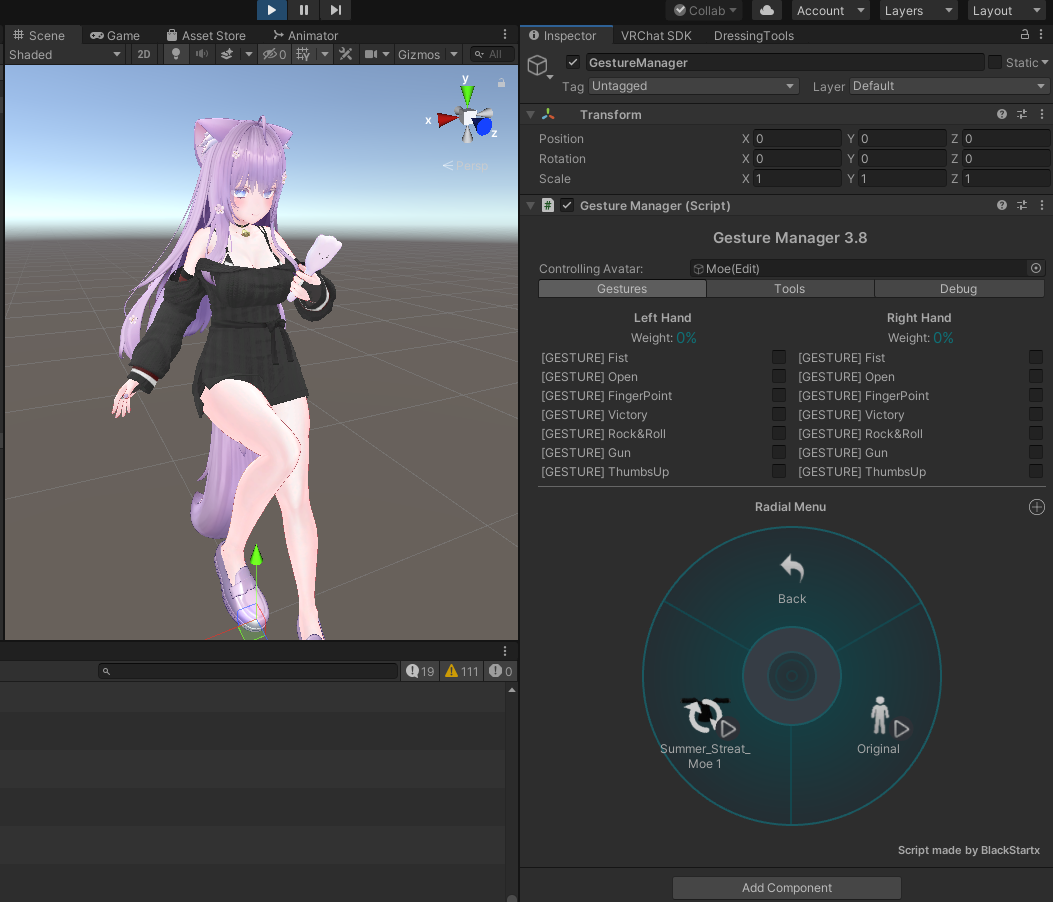
You can modify your configuration from the cabinet editor anytime again.
If you want to add additional modules, you can use the Advanced mode!